Set expectations • Leather Care
When can cleaning improve appearance, and when is refinishing needed?
Cleaning removes soil; refinishing changes or rebuilds the visible finish. They can be part of one project, but they are not interchangeable.
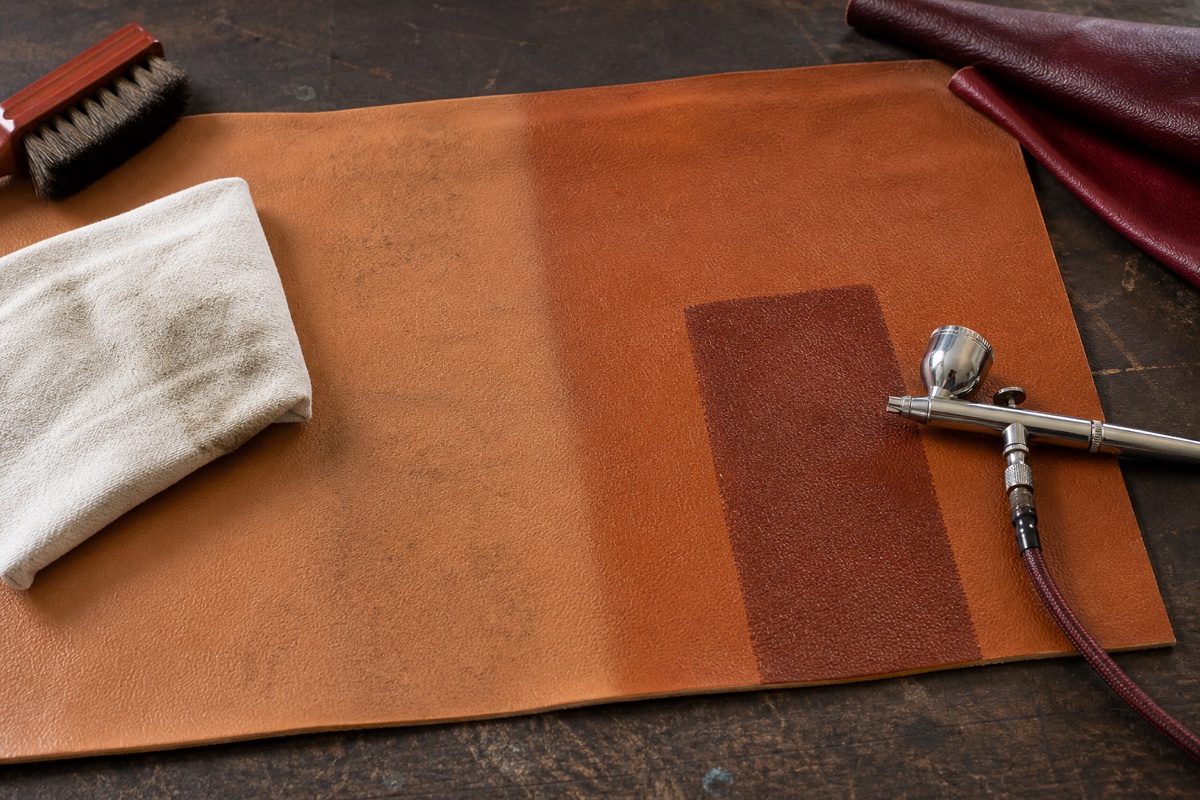
Stained grain, embedded oils, color loss and a broken topcoat each respond differently. Historical service guidance treated cleaning, conditioning, refinishing and spot repair as separate stages for a reason.
Describe the desired outcome before the method. “Brighter” may mean removing soil, while “even color” may require controlled recoloring.
If the finish is unstable, cleaning alone can reveal the scale of the repair rather than solve it.
Cleaning subtracts; refinishing builds
For the fuller treatment of that point, see working notes.
Cleaning aims to remove compatible soil and residue while preserving the sound surface beneath. Refinishing prepares and rebuilds part of the visible color or protective finish. The two can appear in one workflow because a surface must be understood and cleaned before new coating is considered, but they answer different questions. A pale worn bolster cannot be scrubbed back into having a missing color coat.
Begin with an appearance map. Mark dark deposits, glossy touch zones, pale abrasion, stains within the grain and sharp coating loss. Note which differences change under gentle dry wiping and which remain fixed. The pattern shows where a cleaning test can provide information without assuming every remaining mark requires a full refinishing system.
Set the result before the method
"Cleaner" may mean less surface soil. "Even" may mean reduced color contrast. "Restored" may mean stable damage with retained patina, or it may mean a broad new finish. Write the target in visual terms and decide what original variation should remain. Without that standard, a technician can solve the technical coating problem and still deliver a result the owner considers too flat or too new.
Use whole-object photographs, not only close before-and-after frames. A local repair is seen beside adjacent panels, wood, fabric and natural aging. The sofa finish guide explains how sheen and surface protection influence both the treatment and the way a color match is perceived.
Let the cleaning test reveal the boundary
Follow current manufacturer guidance when it exists and test a mild compatible process on an intact hidden section. Work in a small controlled area, remove residue and allow it to dry. If soil lifts while color and sheen remain stable, expand cautiously. If color moves, the finish becomes tacky or the test exposes cracks, stop. Cleaning has revealed repair scope rather than failed to work.
Do not escalate automatically from mild cleaner to stronger solvent or abrasion. Each escalation can remove evidence and material. Unknown dressings, silicone and oil should be disclosed because they can affect later coating adhesion. The safe product-test guide treats a negative result as useful evidence, not a challenge to try harder.
Refinish only a stable prepared surface
Professional refinishing considers adhesion, flexibility, color, opacity, grain and sheen. It cannot stabilize a loose seam, rebuild missing foam or make weak leather strong. Open cracks and tears require their own repair plan first. On a stable coated surface, test panels can show how little color and finish are needed to integrate the area without covering every natural mark.
Ask how edges, piping and touch zones will be handled and how the finish will cure. Set a stop condition if contamination or unstable coating appears during preparation. The result should be judged fully dry, under normal room light and through ordinary gentle movement. A durable honest transition is more valuable than a dramatic photograph taken before the coating has settled.
Source note: Editorial method. Accessed August 25, 2026.